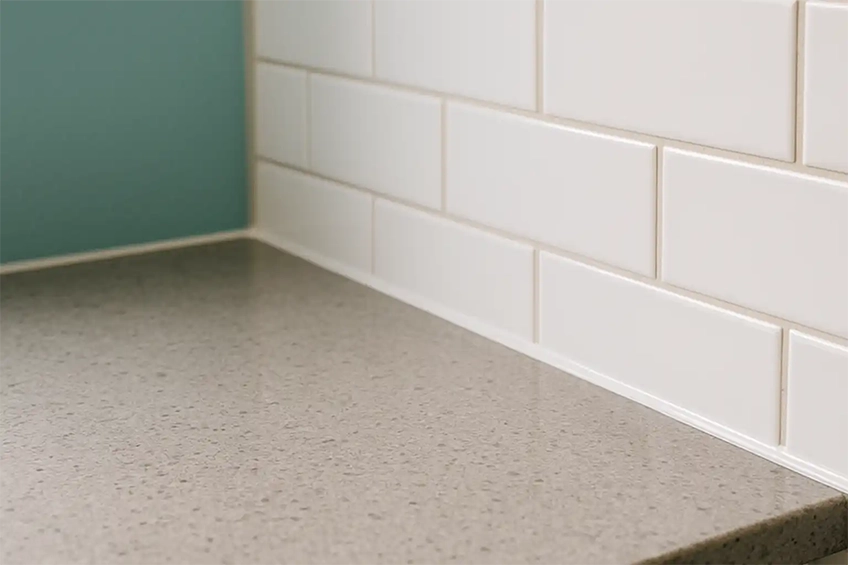
Goodbye mouldy lines. Hello crisp, watertight seals.
We remove tired or mouldy sealant and re-seal with high-quality sanitary silicone for a clean, watertight finish around baths, showers, sinks, splashbacks and worktops. Careful prep, straight tape lines and tidy tooling for results that last.
Where we reseal
- Bath edges & shower trays (internal & external lines)
- Shower enclosures, vertical corners & door frames
- Kitchen worktops to tiles, upstands & sinks
- Basins, splashbacks & window reveals
- Utility sinks & countertops
Materials & finishes
- Mould-resistant sanitary silicone (neutral-cure)
- Common colours: white, clear, black, grey (others on request)
- Tile, acrylic, enamel, stone & laminate surfaces
- Old sealant removal & residue cleanup
- Neat masking, tooling & wipe-down
Our process
- Careful removal of old silicone and residue
- Clean, degrease and dry the area thoroughly
- Mask straight lines, apply quality silicone and tool smooth
- Final clean-up and usage guidance
Curing time: please avoid water and steam for ~24 hours (product and temperature dependent).
Heavy mould staining behind the seal may still show through porous grout; we’ll advise on re-grouting if needed.
FAQs
Usually yes—white and clear are common, with black and greys also available. If you need an exact shade,
send a photo and we’ll confirm options before the visit.
Allow around 24 hours before getting the area wet. Colder rooms or thicker beads may require a little longer;
we’ll advise on the day.
We clean and disinfect surfaces before resealing. If grout is failing or heavily stained, we can re-grout small
areas or advise on a larger re-tile if appropriate.
For a durable, neat finish we fully remove the old silicone and residue before applying new sealant.
Over-sealing rarely lasts and doesn’t look as clean.
We can loosen or remove trim and light panels if required for access. If a full enclosure removal is needed,
we’ll discuss the best approach and any extra time involved.
Get a fast quote
Tell us what needs resealing and share a couple of photos.
Helpful prep: keep the area dry for a few hours beforehand if possible, and clear items from edges for access.